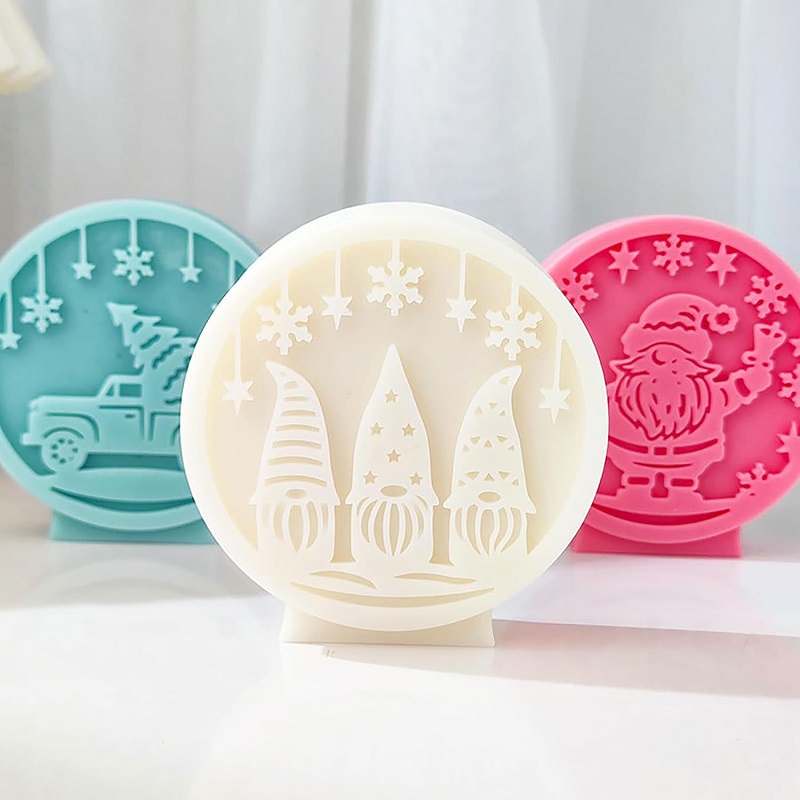
Christmas Santa Resin Mold Cylinder Resin Mold Resin Casting Mold Making
silicone dragon mold, mold size is 6.5cm*6.5*2.5cm.
[High Quality] This Mold is made from food-grade silicone, which is flexible and durable to reuse. Smooth interiors to demold.
[Use To] This mold could be used for candles/wax/soap/clay/chocolate/cake, or resin. (Chicarubber)
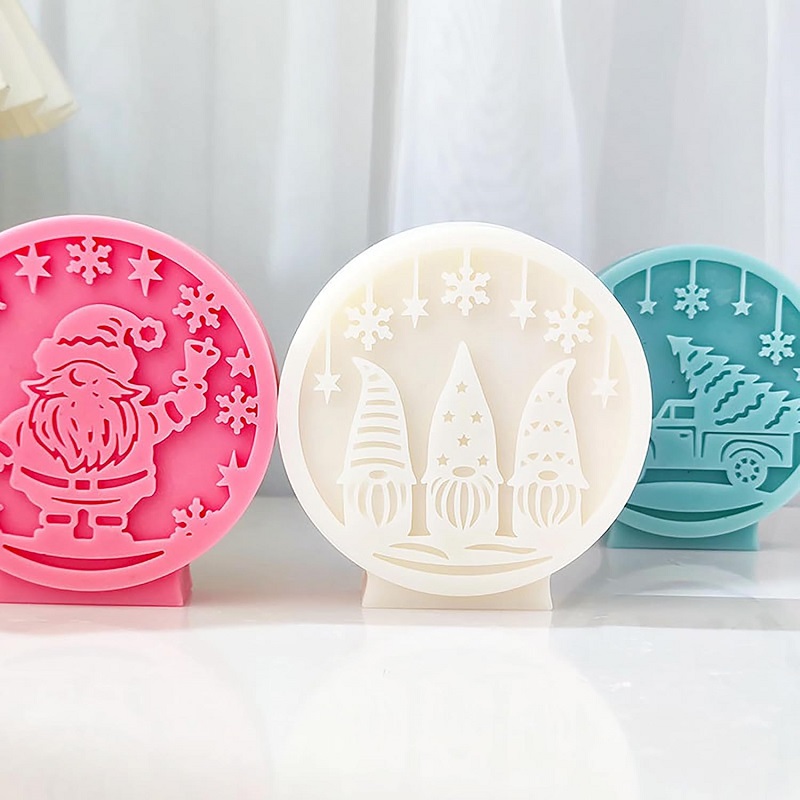
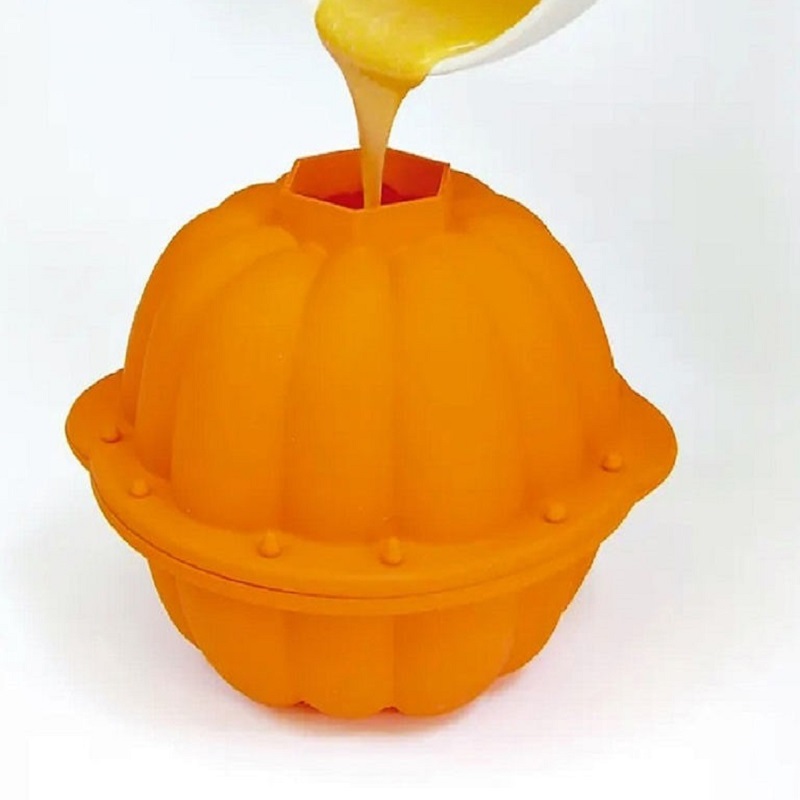
[How to Use] Place the mold in a flat place, pour melted candle/wax/soap or resin, wait some time for the material to solidify, and then de-mold.
[Ideal Gift] This mold could make resin art for table decoration. Also casting soap for daily use and candle art light it up on holiday creating a warm atmosphere.
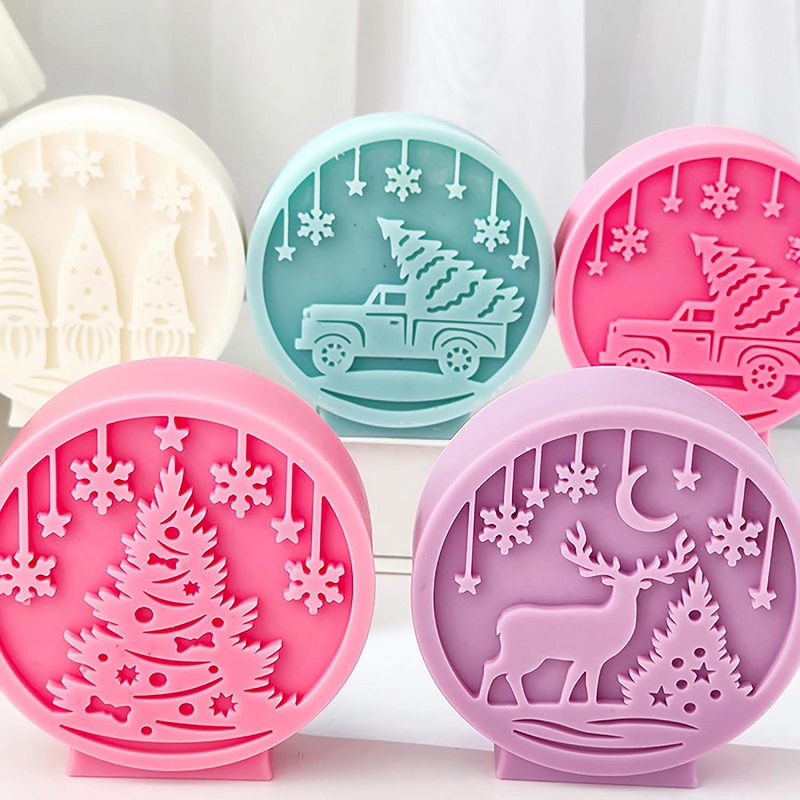
A resin mold is a specially designed form used to shape and set resin into desired designs. Made from silicone or other flexible materials, these molds allow for easy release of the finished product. The Santa resin mold cylinder is typically designed to capture intricate details, from Santa’s cheerful face to his iconic hat.
Why Choose a Santa Resin Mold?
- Festive Spirit: A Santa mold captures the essence of Christmas, making your creations ideal for holiday décor.
- Versatility: The finished pieces can be used as ornaments, table centerpieces, or even as unique gifts.
- Customization: You can personalize your creations with colors, glitters, or embedded objects, making each piece unique.
Materials Needed
To get started, you’ll need the following materials:
- Santa Resin Mold Cylinder: Choose a high-quality silicone mold for easy release.
- Epoxy Resin: A clear epoxy resin is preferred for its durability and clarity.
- Colorants: Resin dyes, alcohol inks, or mica powders can add vibrant colors.
- Mixing Tools: Cups and stir sticks for mixing resin.
- Protective Gear: Gloves, a mask, and eye protection are essential to ensure safety during the resin casting process.
Step-by-Step Guide to Casting with a Santa Mold
- Prepare Your Workspace: Lay down a protective covering and ensure your workspace is well-ventilated.
- Mix the Resin: Follow the manufacturer’s instructions for mixing the epoxy resin. Ensure you mix thoroughly to avoid bubbles.
- Add Color: Once mixed, incorporate your chosen colorants to create the desired festive hues. Remember to mix colors gradually to achieve the perfect shade.
- Pour into the Mold: Carefully pour the resin mixture into the Santa mold. Tap the mold gently to release any trapped air bubbles.
- Cure Time: Allow the resin to cure according to the instructions, typically 24-48 hours. Ensure the mold is in a stable, dust-free environment. (Chicarubber)
- Demold Your Creation: Once cured, gently flex the mold to release the resin piece. Enjoy the satisfying moment of unveiling your creation!
- Finishing Touches: If desired, sand any rough edges and apply a sealant or finish for added shine.
Christmas Santa Resin Mold Cylinder Resin Mold Resin Casting Mold Making
If you need to customize silicone products, please contact us at chicarubber